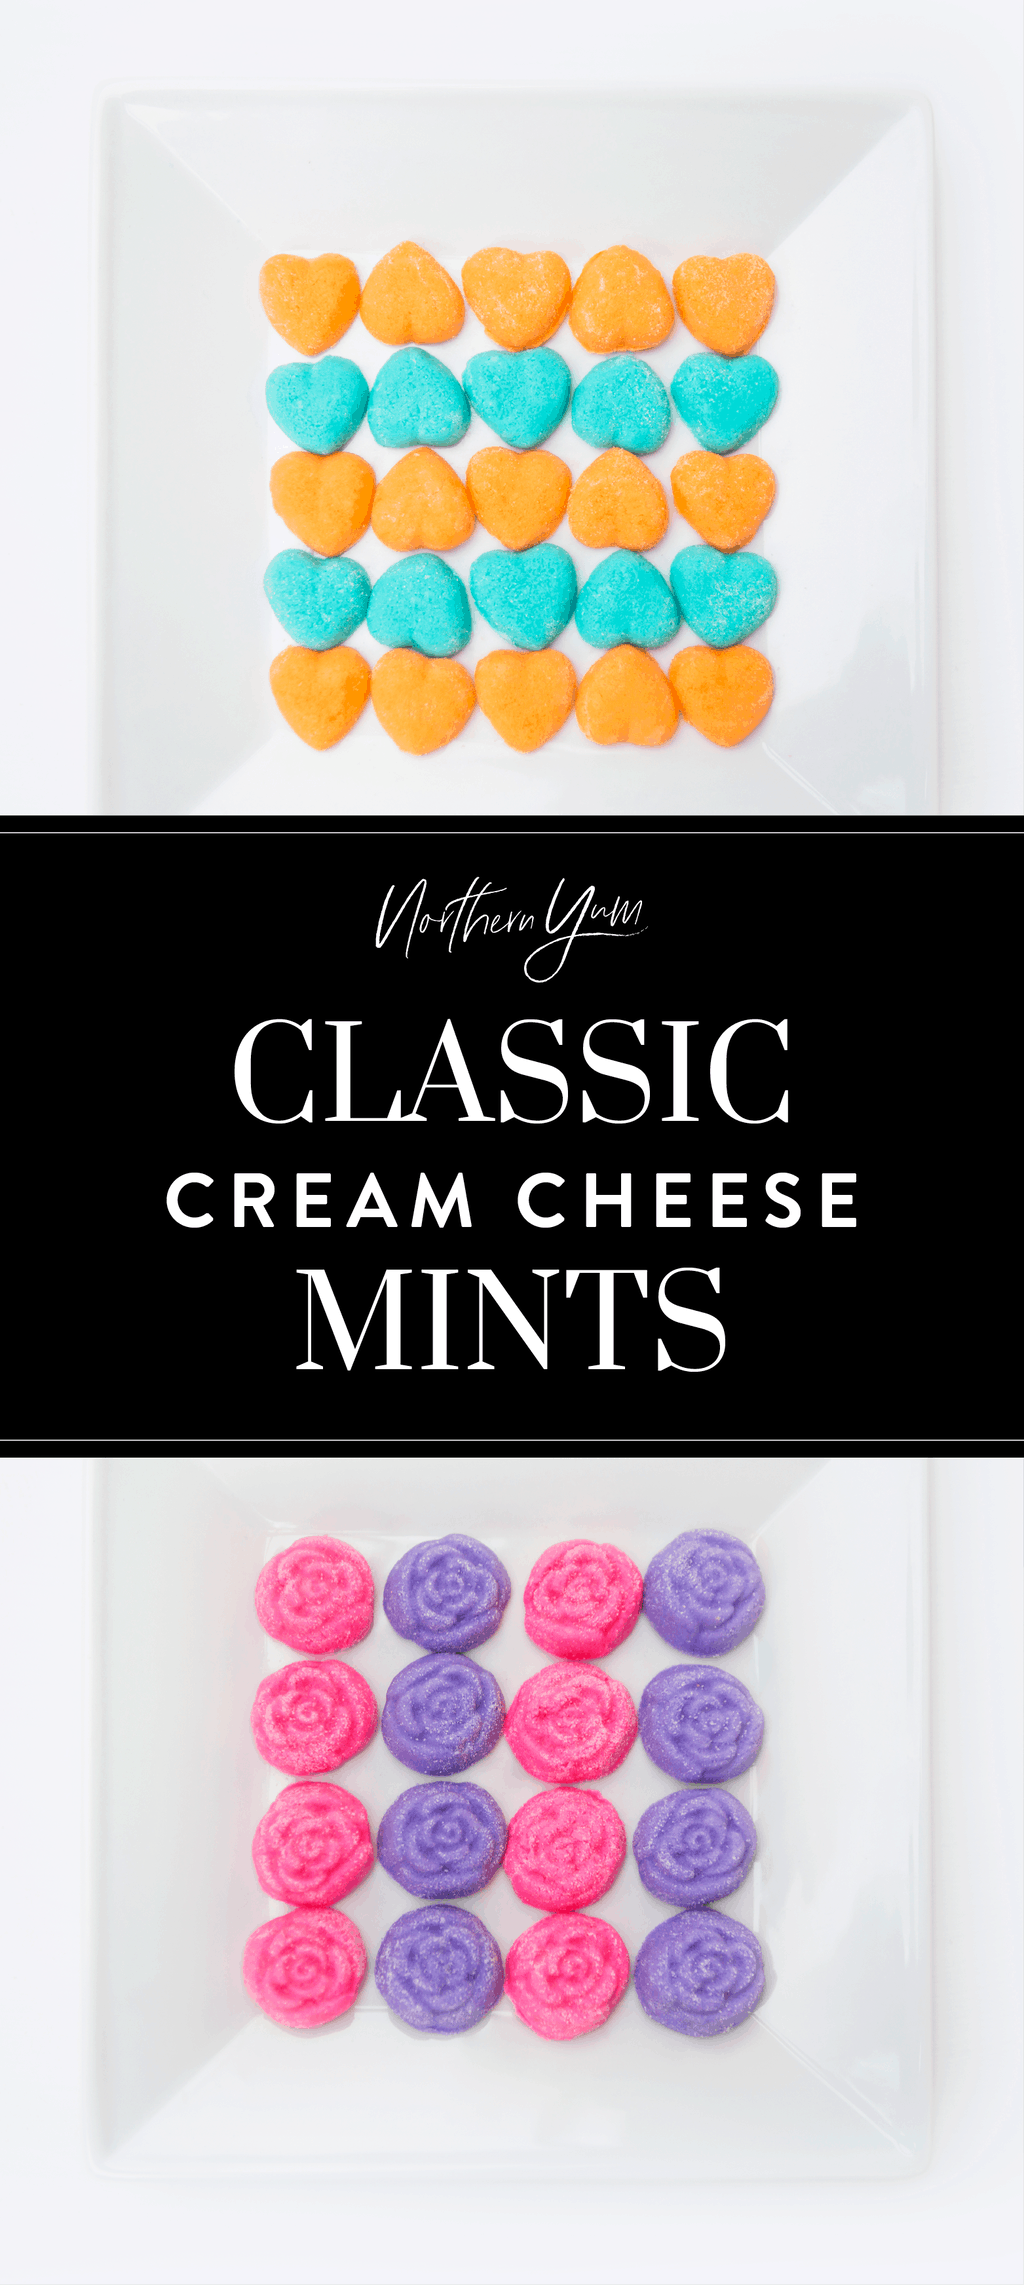

Classic cream cheese mints are a classic wedding dessert. But they’re also great for baby showers, bridal showers, and more.

Originally posted on Live Party Love – moved to Northern Yum
Cream cheese mints are a classic wedding dessert. But they’re not only great for weddings. These mints are perfect for any occasion, including birthdays, anniversaries, baby showers, and bridal showers. Customize with your favorite flavors—mint, lemon, or almond and make fun colors to coordinate with your event.
Find What You’re Looking for:
We love them because you can make so many fun colors and flavors. (Not just mint!) We do want you to know they take some time to make, especially the forming. So make sure to set aside a good several hours. (The more helping hands – the better!). But they’re sooo worth it, we promise.
Ingredients & Supplies
Here’s what you’ll need:
- 8 oz cream cheese
- 2 lbs powdered sugar
- Flavorings – peppermint, spearmint, lemon, almond
- Food coloring
- Granulated sugar
- Candy molds (hearts, flowers, etc.)
- Wax paper
Pick the flavorings you would like to use. You can use one or many.
How to Make Cream Cheese Mints
Follow these simple steps to make these delicious mints.
Step 1 | Soften cream cheese
Start with softened cream cheese. If you make different colors and flavors, now is the time to separate the cream cheese. Divide into smaller bowls for the number of flavors and colors you plan to make.

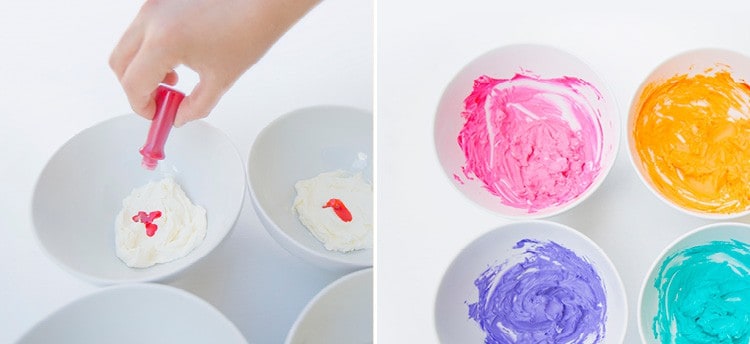
Step 2 | Add the flavoring and food coloring
Please note the whole recipe only uses one teaspoon of flavoring. So, if you have four colors, you’ll only need 1/4 teaspoon of flavoring in each. Mix the flavor and food coloring into each bowl of cream cheese.
Step 3 | Slowly mix in powdered sugar
Divide the powdered sugar and slowly mix in each bowl. A stand mixer is really helpful if you have one.

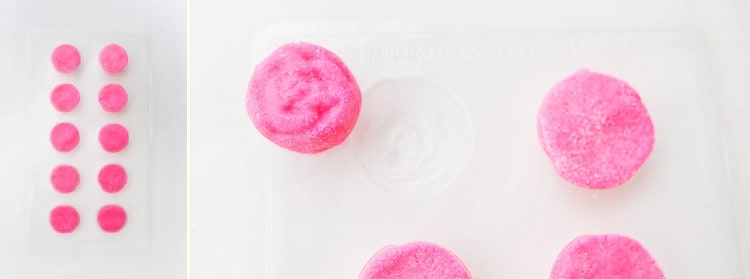
Step 4 | Roll dough in sugar and press into mold
Prepare a bowl of white sugar for dipping. Take a small amount of dough and roll it into a ball. Then, dip the ball in sugar and press it into the mold.

Step 5 | Remove from mold
Slowly remove from the mold by tipping it upside down. Set on wax paper to dry.
Step 6 | Allow mints to dry and store
Allow the mints to dry for a few hours. Then, store them in an airtight container in the fridge.
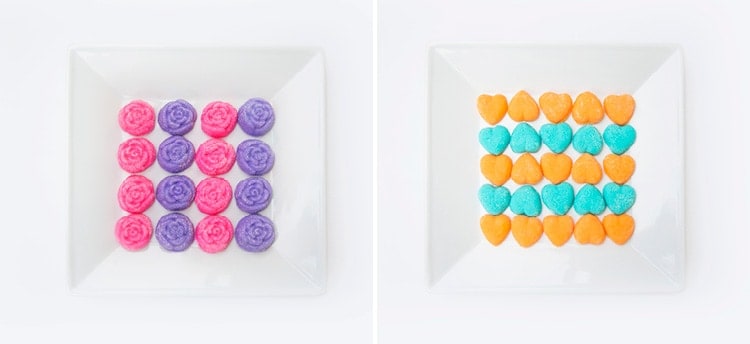
Step 7 | Serve and enjoy
When you’re ready to serve, grab your favorite serving platter and place the mints in beautiful rows (or any fun design) as shown.
Print
Cream Cheese Mints
Classic cream cheese mints are a classic wedding dessert. But they’re also great for baby showers, bridal showers, and more. Customize with your favorite flavors – mint, lemon, or almond. Make fun colors to coordinate with your event.
- Total Time: 3 hours
- Yield: 8 to 10 dozen 1x
Ingredients
- 8 oz cream cheese
- 2 lbs powdered sugar
- Flavorings – peppermint, spearmint, lemon, almond
- Food coloring
- Granulated sugar
Instructions
- Start with softened cream cheese. (Divide cream cheese in separate bowls if you are making different colors and flavors.)
- Mix in the flavoring and food coloring. (Please note the recipe only calls for 1 teaspoon flavoring, so 4 colors will only use 1/4 teaspoon per color.)
- Slowly mix in the powdered sugar. A stand mixer is really helpful.
- Take a small amount of dough and roll it into a ball.
- Dip in sugar and press into the mold.
- Slowly remove from the mold by tipping upside down.
- Allow the mints to dry for a few hours.
- Store in an airtight container in the fridge.
Notes
- You can use any flavoring you like – lemon, mint, peppermint, and almond.
- Store in the refrigerator. You can also freeze these mints.
- Quantity will depend on the mold used. Nutrition information is best estimate only.
- Prep Time: 3 hours
- Cook Time: 0 minutes
- Category: Dessert
- Method: No-Bake
- Cuisine: American
Nutrition
- Serving Size: 1 mint
- Calories: 36
- Sugar: 7.5 g
- Sodium: 6.1 mg
- Fat: 0.7 g
- Saturated Fat: 0.4 g
- Trans Fat:
- Carbohydrates: 7.6 g
- Protein: 0.1 g
- Cholesterol: 1.9 mg
Frequently Asked Questions
Here are answers to commonly asked questions about making cream cheese mints.
How long can cream cheese mints sit out?
We are extra careful with foods containing cream cheese and will only leave these mints out for 2 to 3 hours before putting them in the refrigerator.
How do you store cream cheese mints?
Store them in an airtight container in the refrigerator. The mints will last a week or more.
Can I freeze cream cheese mints?
Yes! You can easily freeze these mints. This is perfect when making ahead of time for special occasions. Just thaw them out in the refrigerator on the day of the event.
What is the best way to remove the mints from molds?
Gently turn the mold upside down and tap lightly to remove. Make sure you’ve rolled each mint in granulated sugar beforehand, as this recipe states, otherwise, you may have issues with the mints sticking to the molds.
If you make these mints, please leave us a review in the comments and let us know your favorite flavors!
⭐⭐⭐⭐⭐
Have You Tried This Recipe? Please rate it in the comments and let us know your thoughts!
More Dessert Recipes
- Oatmeal rice krispy chocolate chip cookies
- Mini almond cakes
- Cake pops with cake mix
- Peanut butter cups
- Cinnamon sugar roasted almonds
Pin for later