The easiest way to separate pumpkin seeds from the guts and clean them for roasting—using a simple bowl of water. Here’s a quick step-by-step guide.
With fall comes all the fun seasonal activities, including visiting the pumpkin patch and carving pumpkins. We love to save the seeds for roasting, but removing and cleaning the seeds can be a pain.
Luckily, we’ve got a neat trick that makes this task a breeze. The magic happens in a simple bowl of water!
Step-by-Step Guide to Cleaning Pumpkin Seeds Effortlessly
Follow these simple steps to separate the pumpkin strands and goo from the pumpkin seeds.
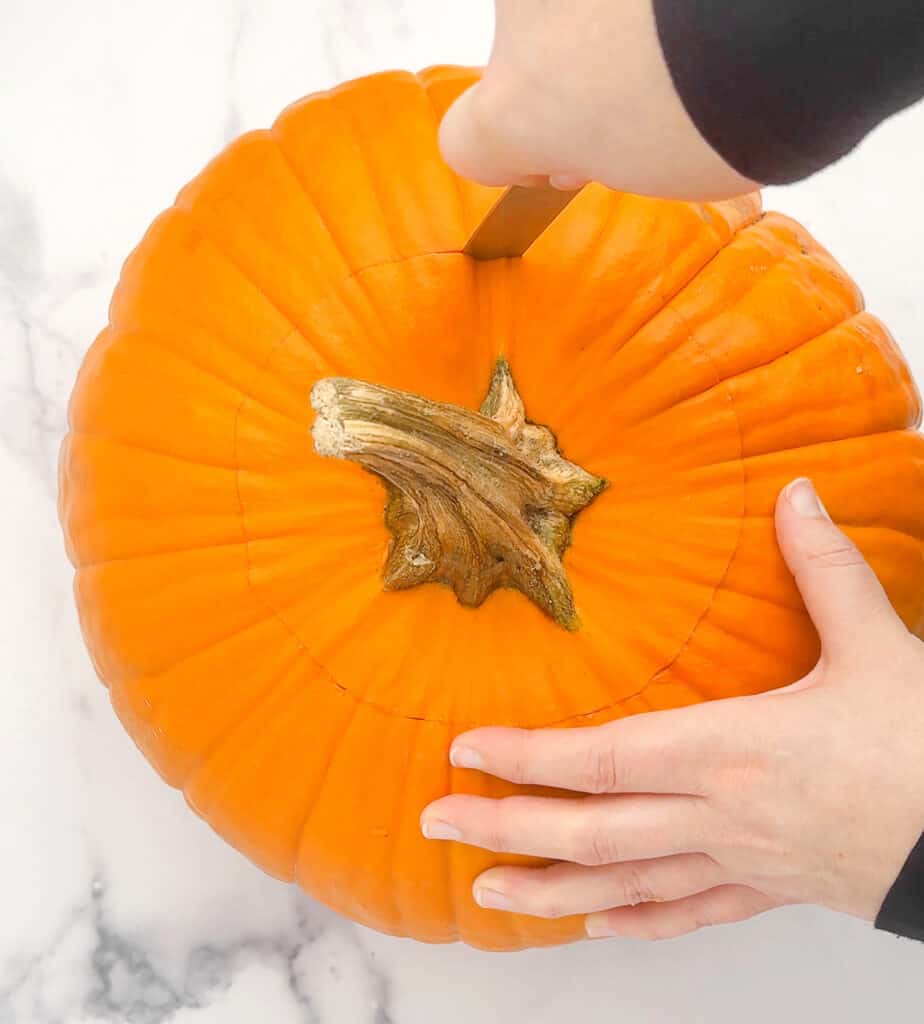
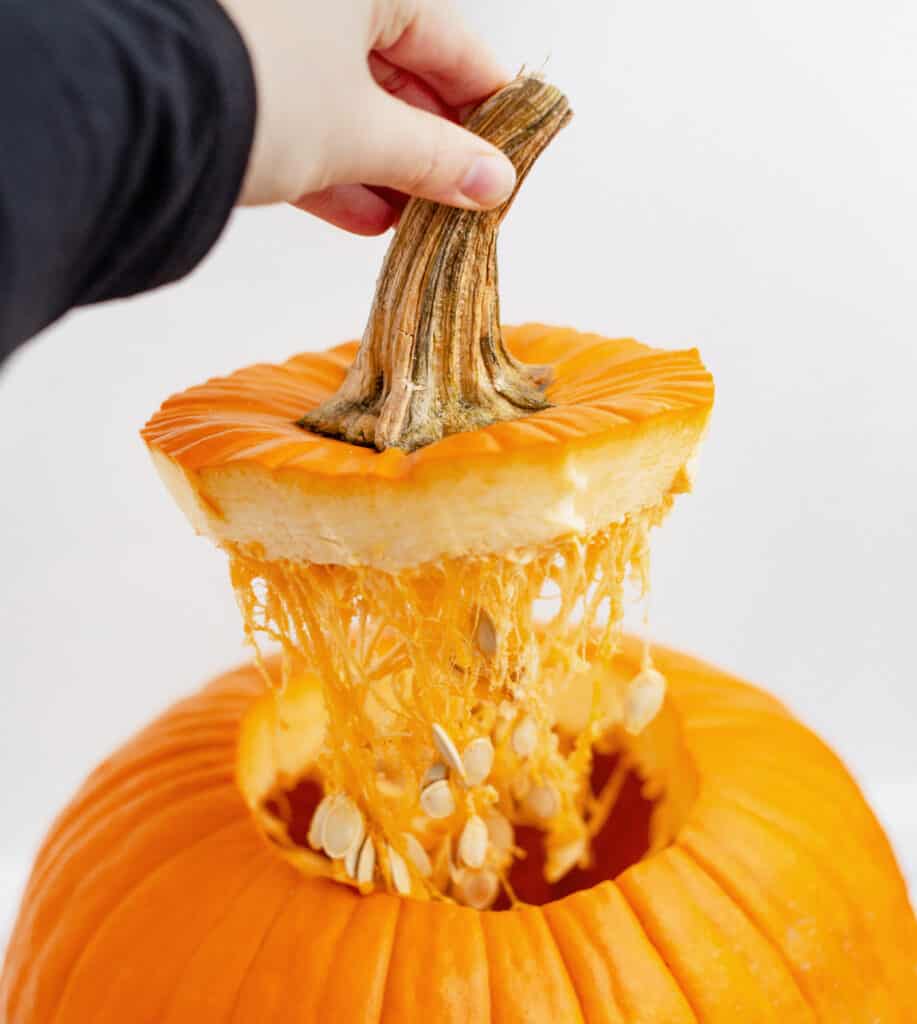
Step 1 | Cut Open the pumpkin
Cut a hole in the top of the pumpkin. If you aren’t planning on carving it, you can instead just cut the pumpkin in half for easier access to the seeds.
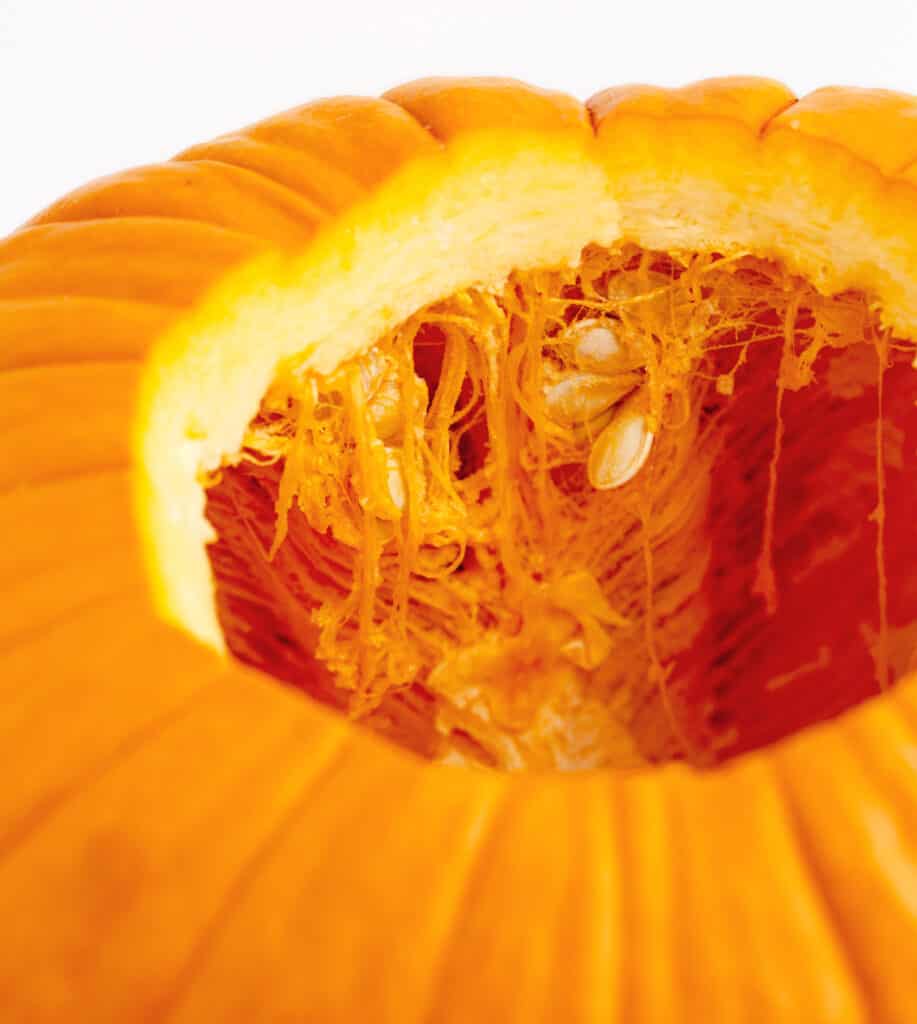
Step 2 | Clean out the Pumpkin
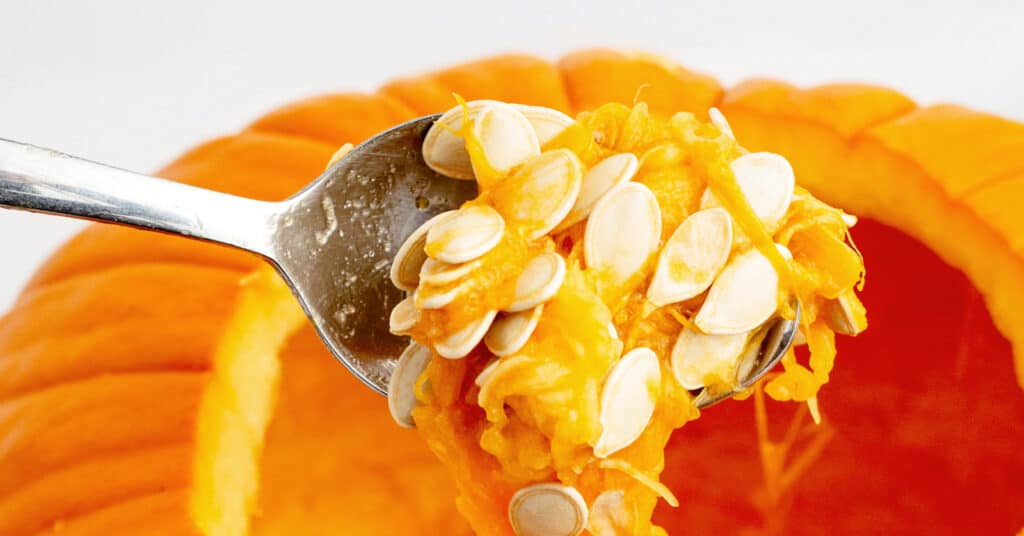
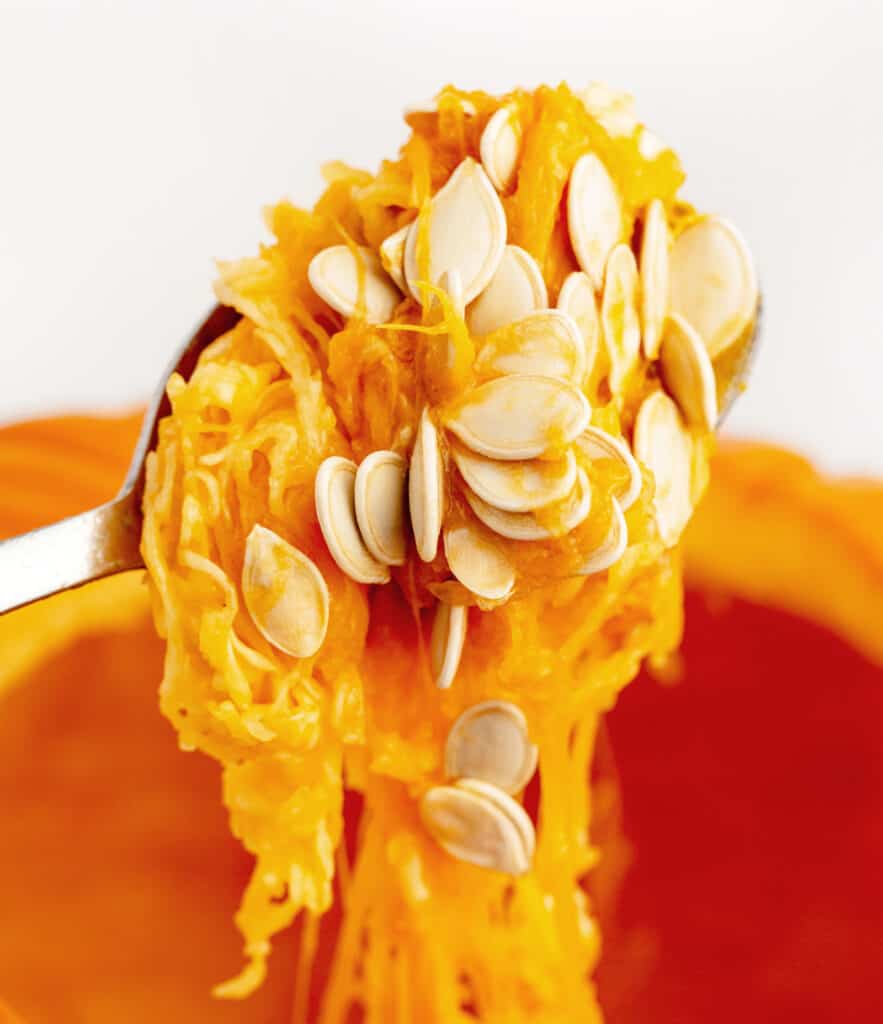
Scrape out the pumpkin guts and seeds using a spoon or pumpkin carving scraper tool. Add them to a large bowl – you’ll want to make sure there’s plenty of extra room in the bowl.
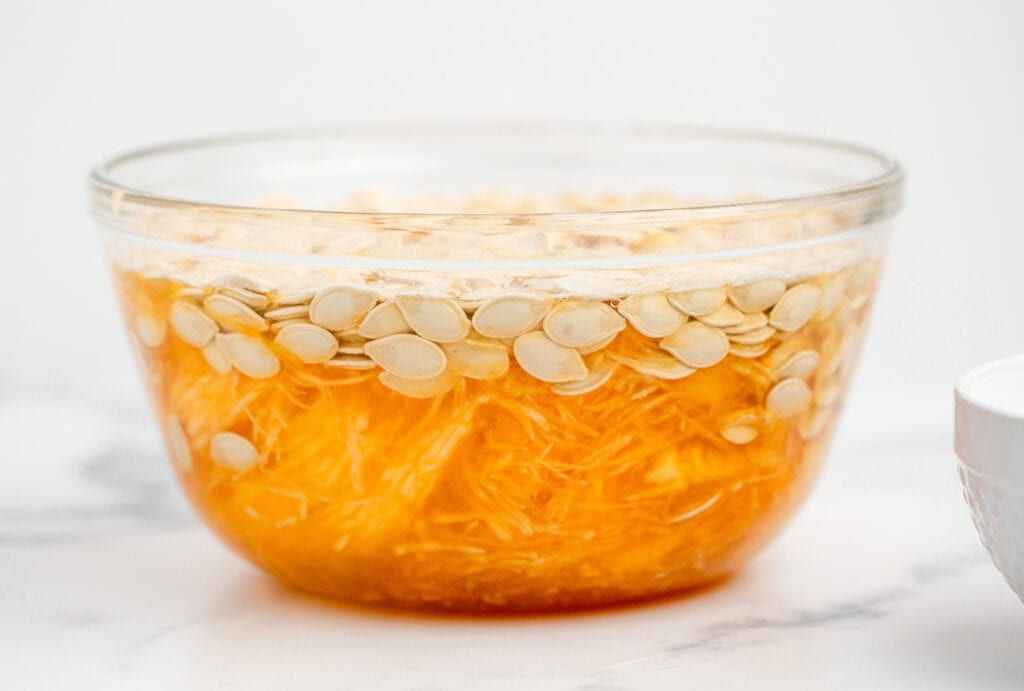
Step 3 | Add water to the bowl
Fill the bowl with water, making sure all the pumpkin material is submerged. Give it a gentle stir. The pumpkin seeds will naturally float to the top, while the denser guts will sink to the bottom.
Step 4 | Skim the Top with a slotted spoon
With a slotted spoon or your hands, skim the floating seeds off the top of the water.
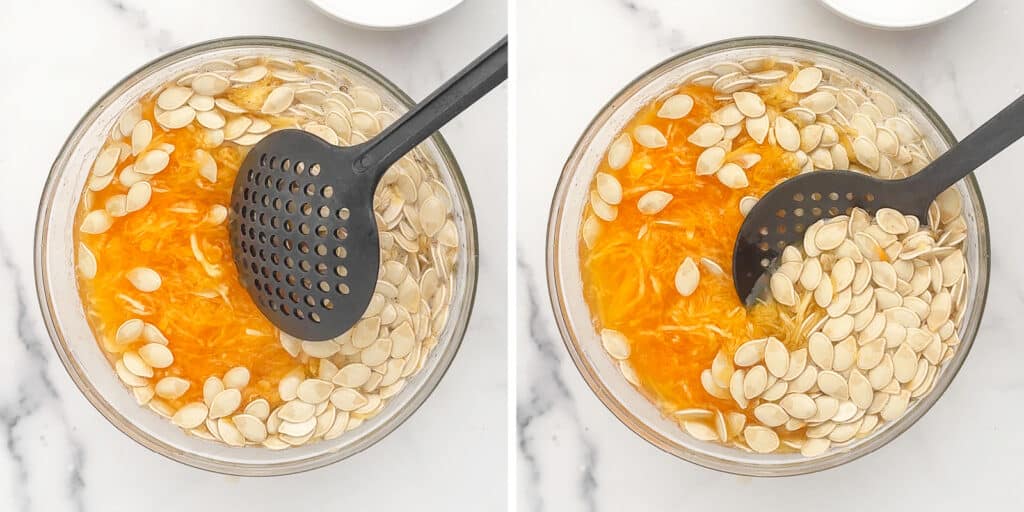
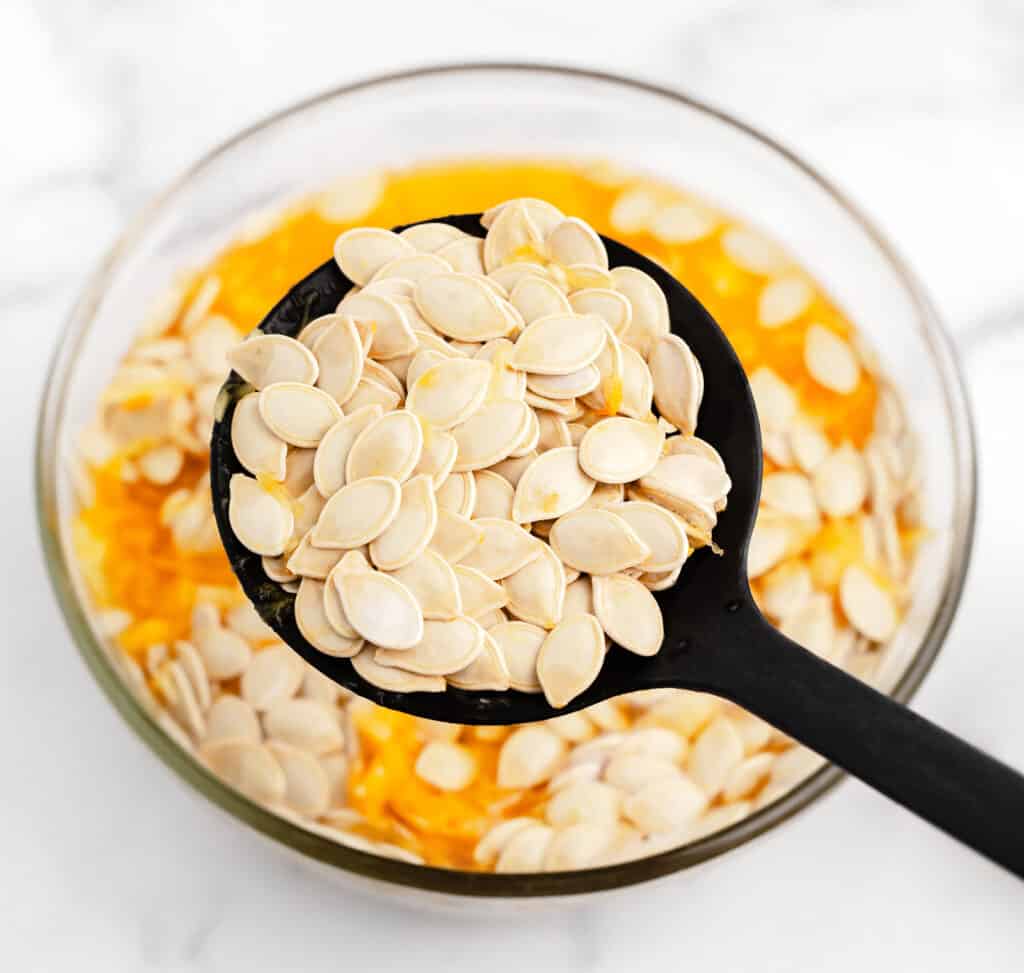
Once you’ve gotten all the seeds from the surface, give it a gentle stir, and more will likely rise to the top.
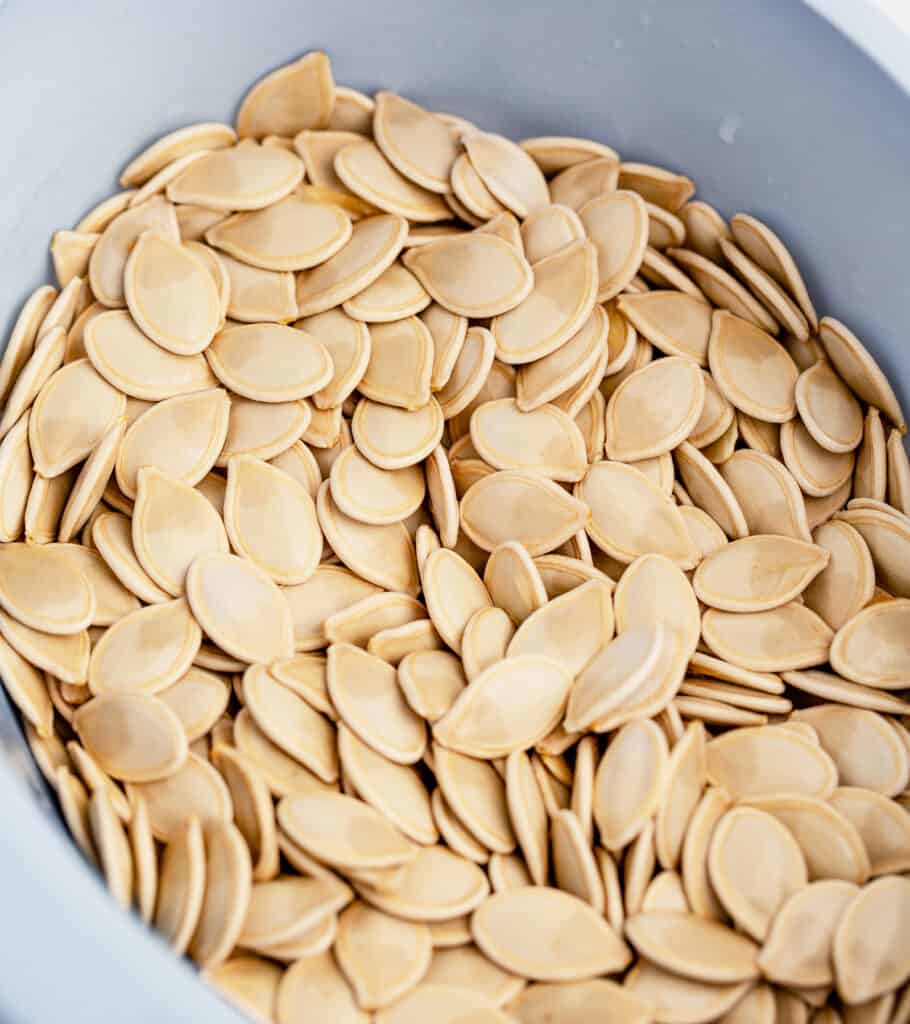
Add the scooped seeds to a colander as you go. Place a plate or tray under the colander to catch any excess liquid.
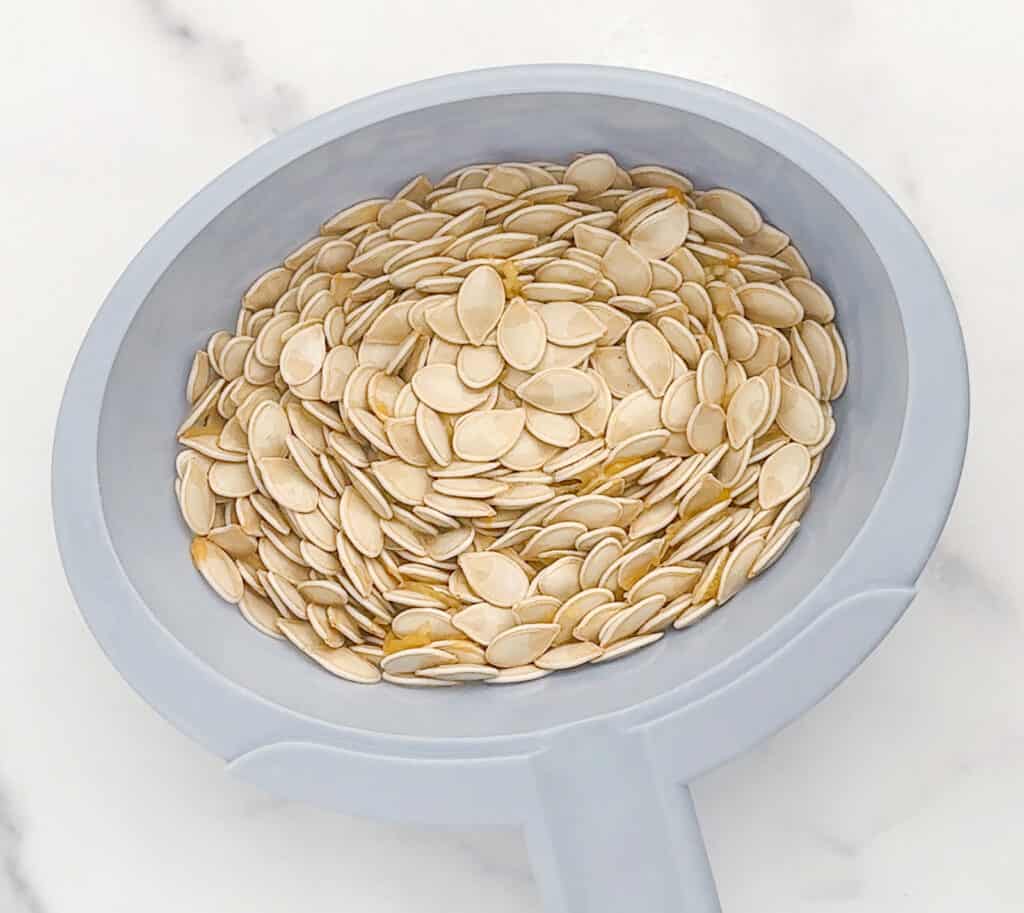
Step 5 | Rinse the Seeds
Rinse your seeds under cold water to remove any remaining pumpkin residue.
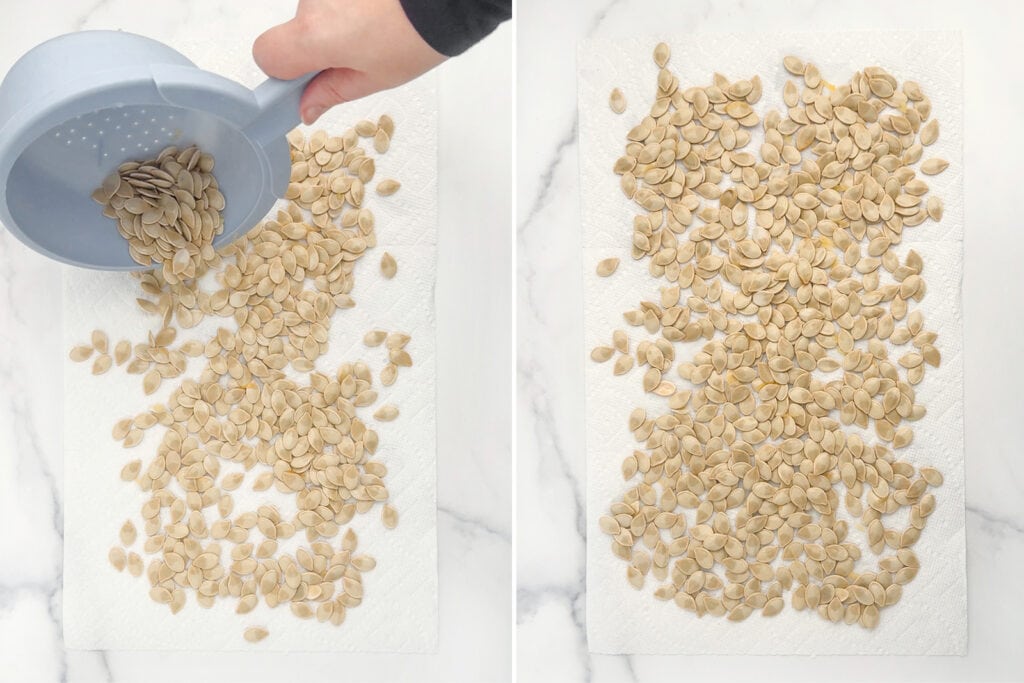
Step 6 | Dry the seeds
Spread the seeds out on a clean towel or paper towel to dry.
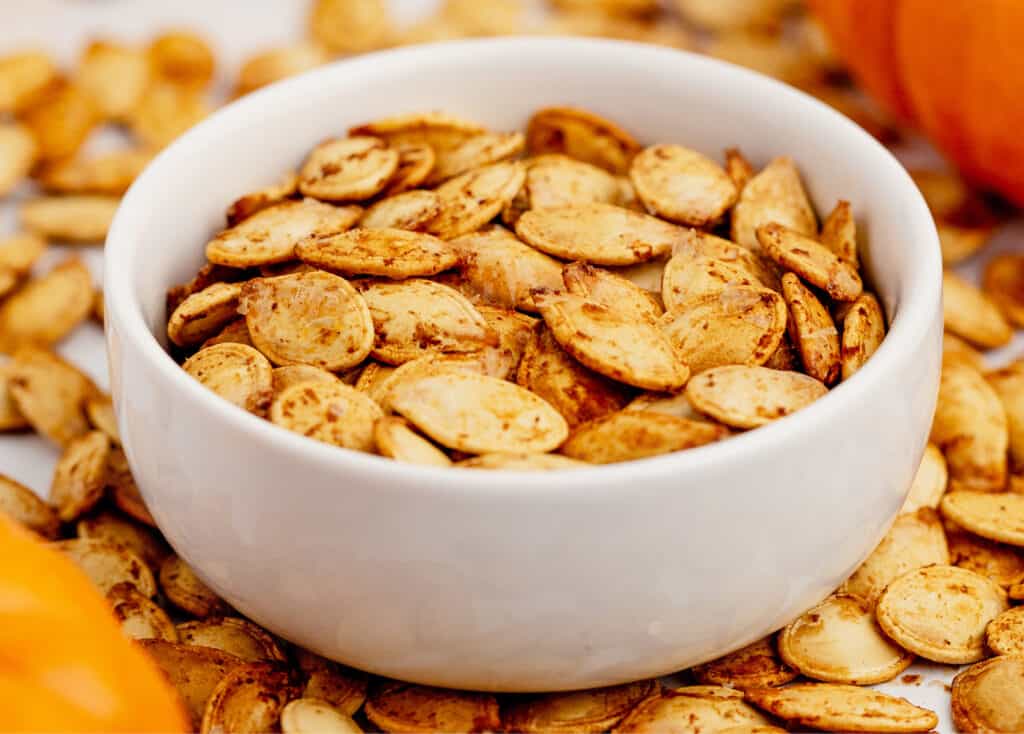
Step 7 | Roast or Store
Now that you have your clean seeds, you can either roast them for a crunchy snack or store them for later use.
Try air fryer pumpkin seeds – full recipe here.
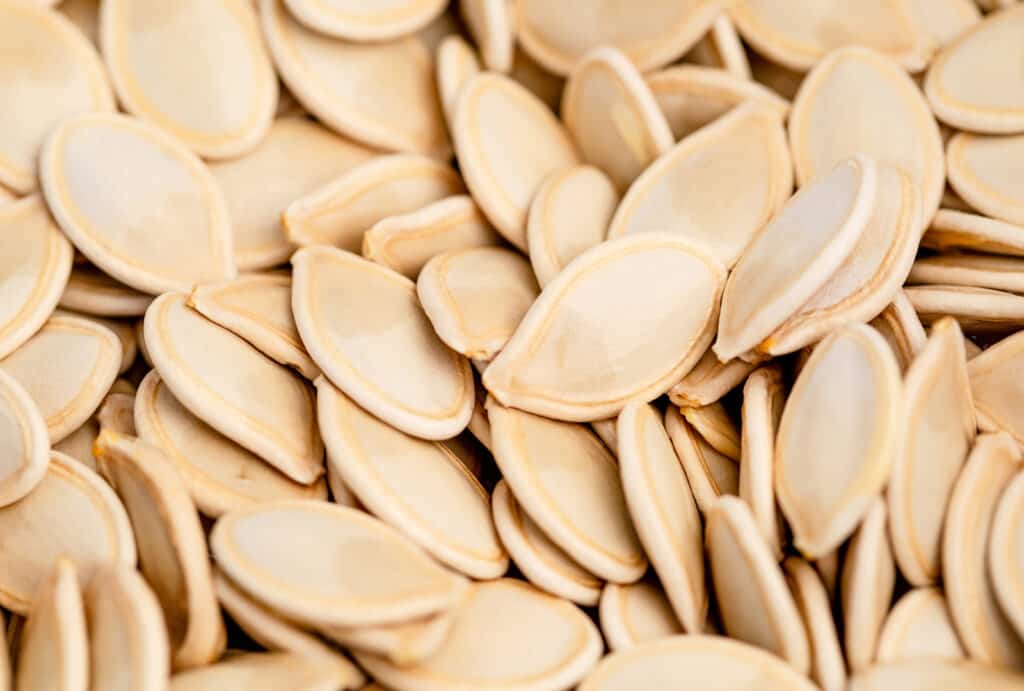
Storing Fresh Pumpkin Seeds
Once you’ve separated the seeds, it’s time to talk storage. Raw (or roasted) pumpkin seeds can be kept in the pantry in a cool, dry place for up to 6 months, according to the FoodKeeper App from FoodSafety.gov.
For proper storage, dry them out (reduce the moisture as much as possible) and keep them in an air-tight container. It is not necessary to store the seeds in the fridge or freezer.
Final Thoughts
Separating pumpkin seeds from the guts is a piece of cake with this water trick. So, the next time you’re carving pumpkins, remember this method to effortlessly enjoy the seeds that come along with the gooey guts!
Pumpkin Recipes
- Roasted Pumpkin Seeds in the Air Fryer
- Pumpkin Whoopie Pies
- Pumpkin Spice Waffles
- Easy Pumpkin Bread
Pin for later