
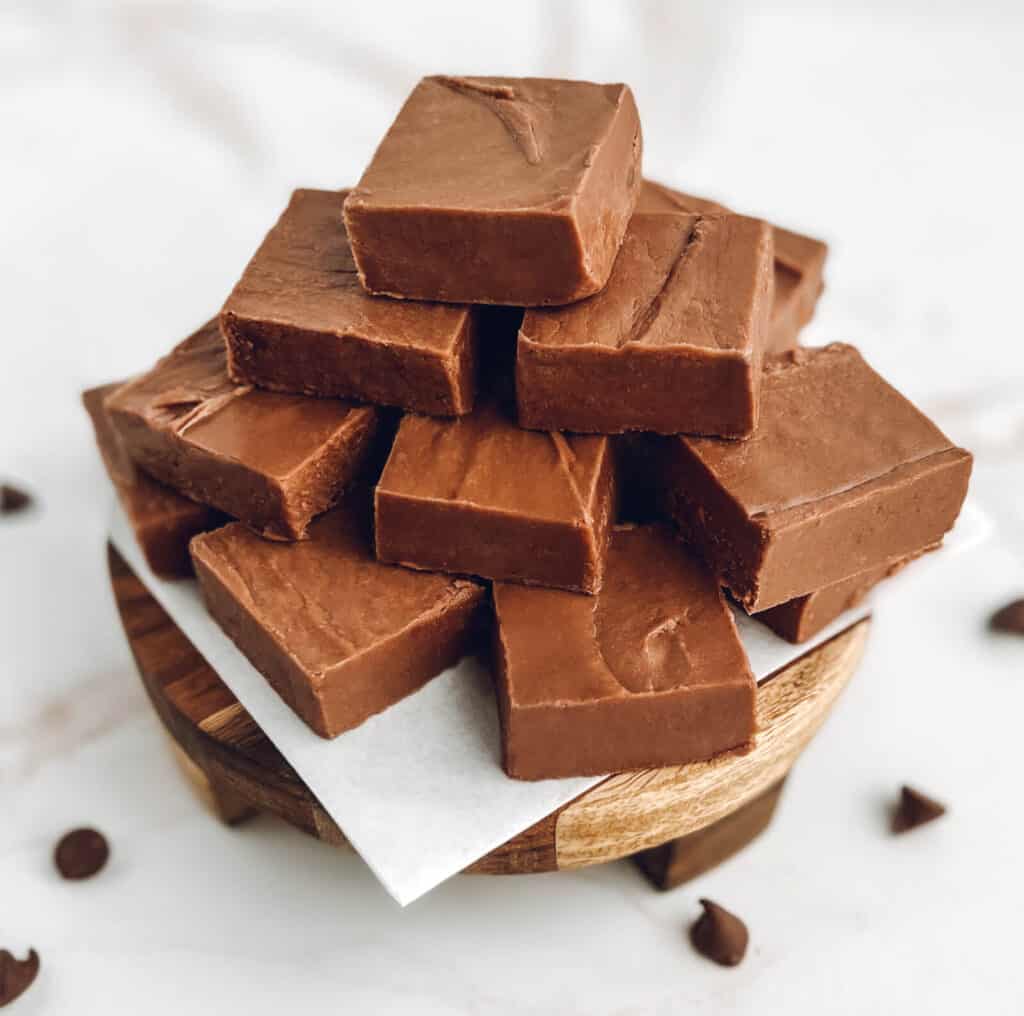
Deliciously easy milk chocolate fudge made in the microwave with just six ingredients—our favorite fudge recipe for the holidays.
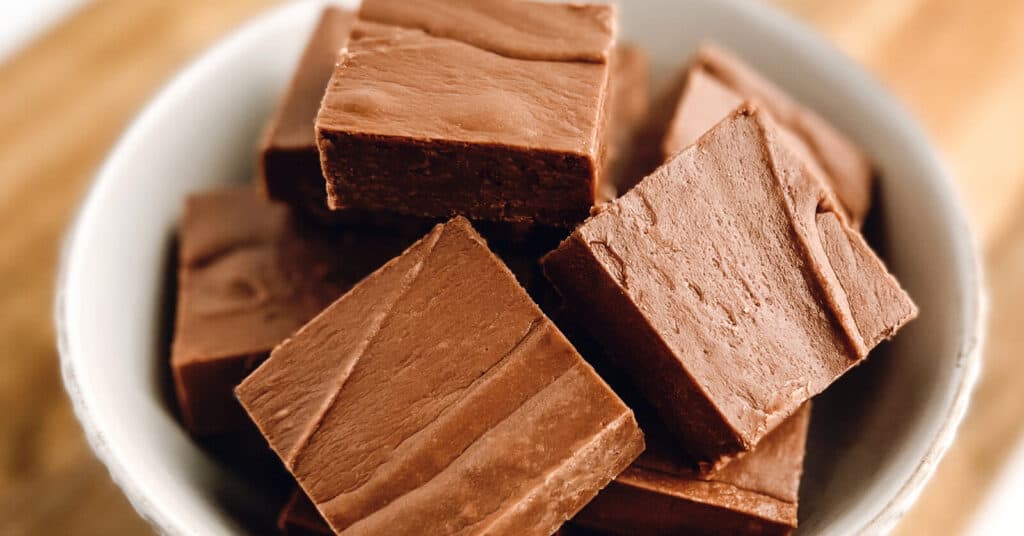
If you’re looking for a quick and easy homemade chocolate fudge recipe, this is the one! In 20 minutes, you can make this chocolate fudge in the microwave using a handful of ingredients you likely already have in the pantry. The result is creamy, delicious chocolate fudge.
Find What You’re Looking for:
Ingredients for Milk Chocolate Fudge
Here’s what you need to get started, including our ingredient recommendations for the best results.

- 3 cups granulated sugar
- 3/4 cup butter
- 6 ounces evaporated milk
- 1 package milk chocolate chips (11.5 ounces or 2 cups)
- 1 jar marshmallow creme (7 ounces)
- 1 teaspoon vanilla extract
Evaporated milk: the cans come in various sizes. Be sure only to use 6 ounces.
Chocolate chips: one package equals about 2 cups of chocolate chips. We use milk chocolate chips.
Supplies
- 13 by 9 baking pan
- Parchment paper
- Large microwave-safe bowl
- Mixing spoon
- Rubber spatula
- Sharp knife
Parchment paper: some choose to use aluminum foil instead. We prefer parchment.
Knife: see our tips for how to cut fudge – the sharpness of your knife will make a difference in how neat your cuts will be. Another option is to check out is 15″ double-handle knives.
How to Make Chocolate Fudge in the Microwave
Follow these simple steps to make this delicious fudge.
Step 1 | Prepare a 13 by 9 pan
Begin by prepping a 13 by 9 pan with parchment paper. We love to use pre-cut parchment baking sheets. If you are not using parchment or foil, you will want to grease the pan.
Step 2 | Mix sugar and evaporated milk, top with butter
In a large microwave-safe bowl, mix the sugar and evaporated milk. Then top with sliced butter.
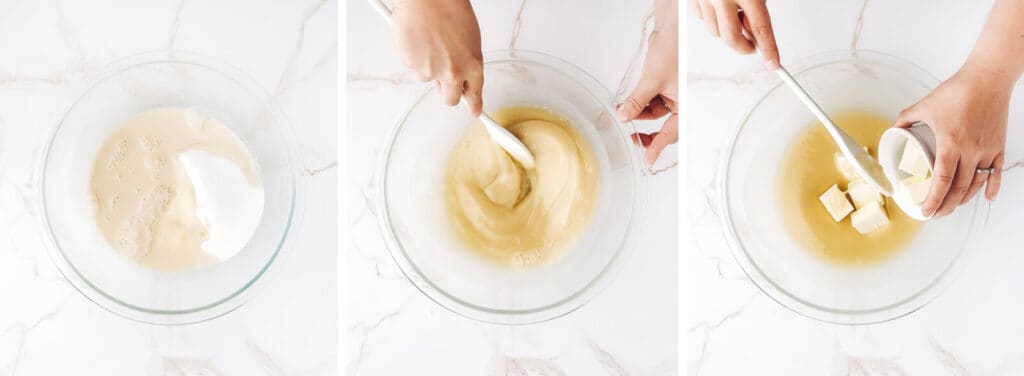
Step 3 | Microwave and stir every 3 minutes
Microwave for 9 1/2 minutes, stirring every 3 minutes or so. Be careful not to over-stir, as the fudge may get grainy.
Step 4 | Add remaining ingredients
Next, add the chocolate chips, marshmallow creme, and vanilla.

Step 5 | Stir until mixed
Stir until mixed well. Tip: move quickly so the fudge batter doesn’t start to harden.

Step 6 | Pour into prepared pan
Pour into the prepared 13 by 9 baking pan. Then chill for several hours in the refrigerator, overnight, if possible.

Step 7 | Remove from pan and cut
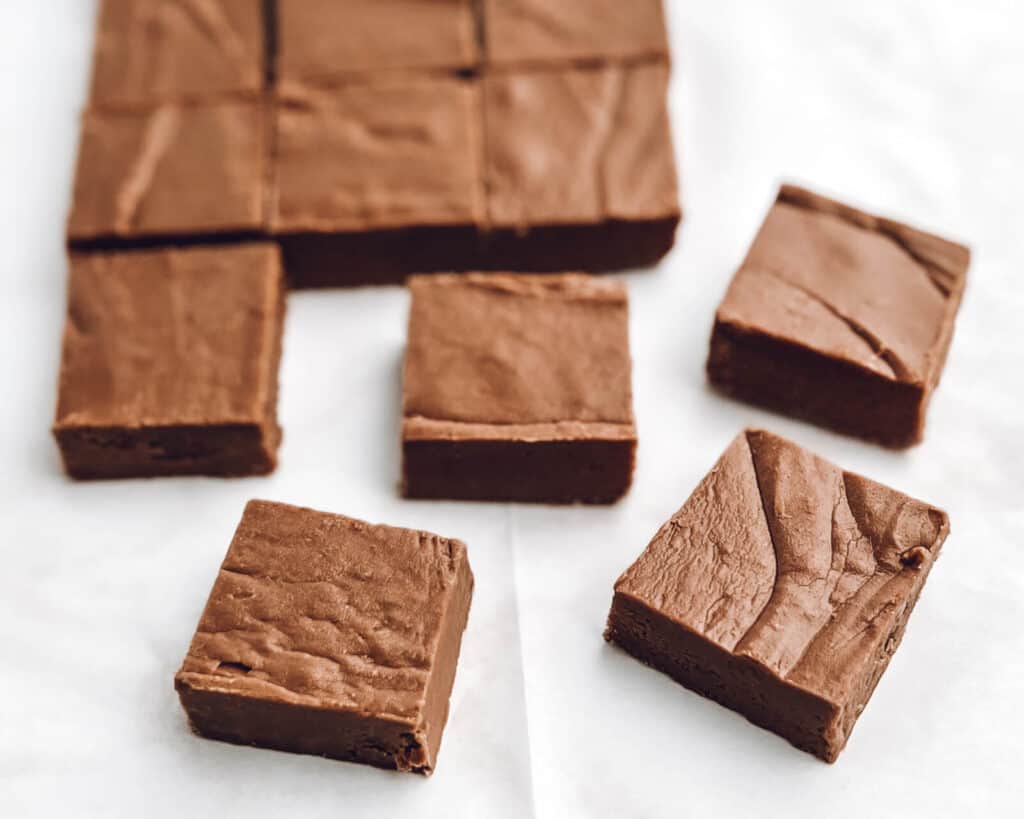
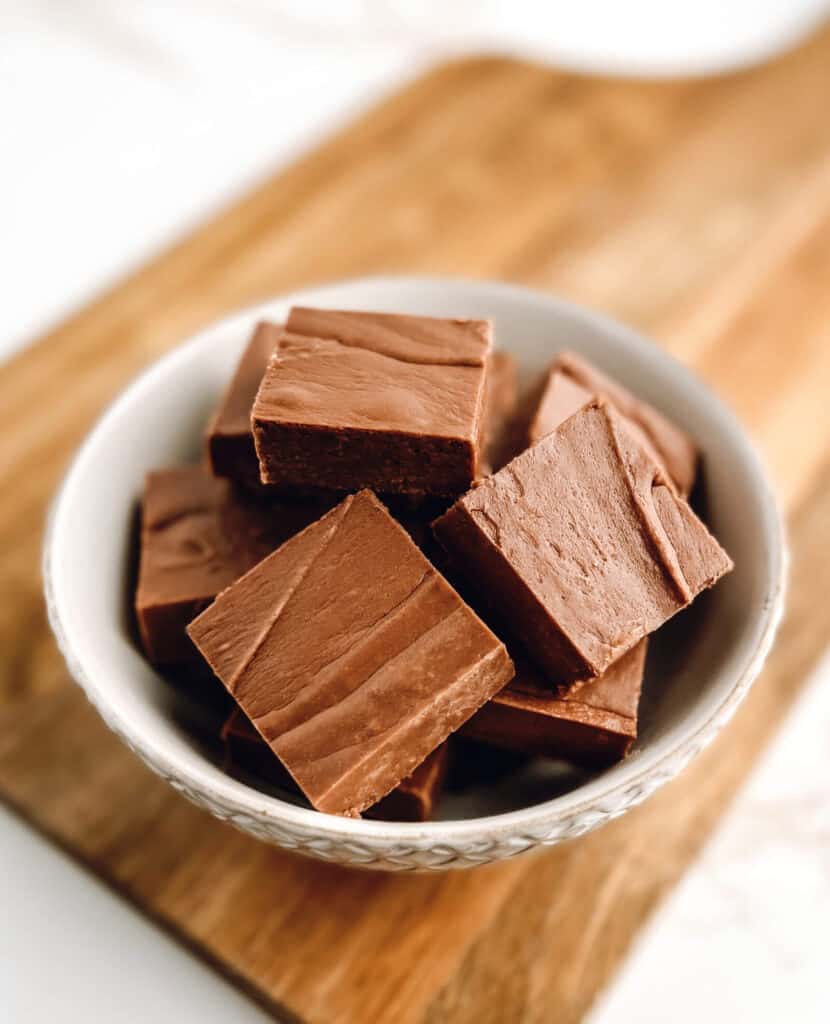
Carefully lift the fudge out of the pan using the sides of parchment paper. Cut into 1-inch to 1 1/2-inch square pieces (find tips for cutting here).

Step 8 | Enjoy or store for later
Store the fudge in an airtight container and refrigerate or freeze until you’re ready to serve.
We love to make this chocolate fudge weeks before the holidays and keep it in the freezer. Just take it out a few hours ahead of time to thaw out.
About This Recipe (Why We Love It)
We’re confident this will soon be your new go-to holiday fudge recipe. Here’s why this fudge has become a staple on our holiday baking list.
- Making fudge in the microwave method is so simple and nearly fail-proof.
- It’s our go-to fudge recipe for Christmas baking and a must on our holiday treat trays.
- You can make it ahead of time and freeze it until you’re ready to serve – the fudge will be good for several months in the freezer.
- The chocolate flavor is so delicious (but definitely rich!). The batter is irresistible. You’ll want to make sure to ‘test it out’ to make sure it’s good. 😉
How to Fail-Proof This Chocolate Fudge
We say this fudge recipe is nearly fail-proof. Here are tips to follow to make sure yours turns out every single time.
- Double-check to make sure you’re using the correct ingredient amounts. For example, evaporated milk comes in various can sizes, and you want to use only 6 ounces, not 12 ounces. If you have too much milk, the fudge will not set properly.
- Do not overcook the fudge, or it will harden too fast.
- Make sure you stir the batter only as needed. Over-stirring fudge can affect the texture and make it grainy.
- Be sure to use parchment paper or grease the pan. You want the pieces to come out of the pan easily and not stick to the surface of the pan.
- Follow the tips below for cutting fudge into neat pieces. Using a dull knife or not chilling the fudge beforehand can make it frustrating to cut, and the final product may not look how you expect it to.
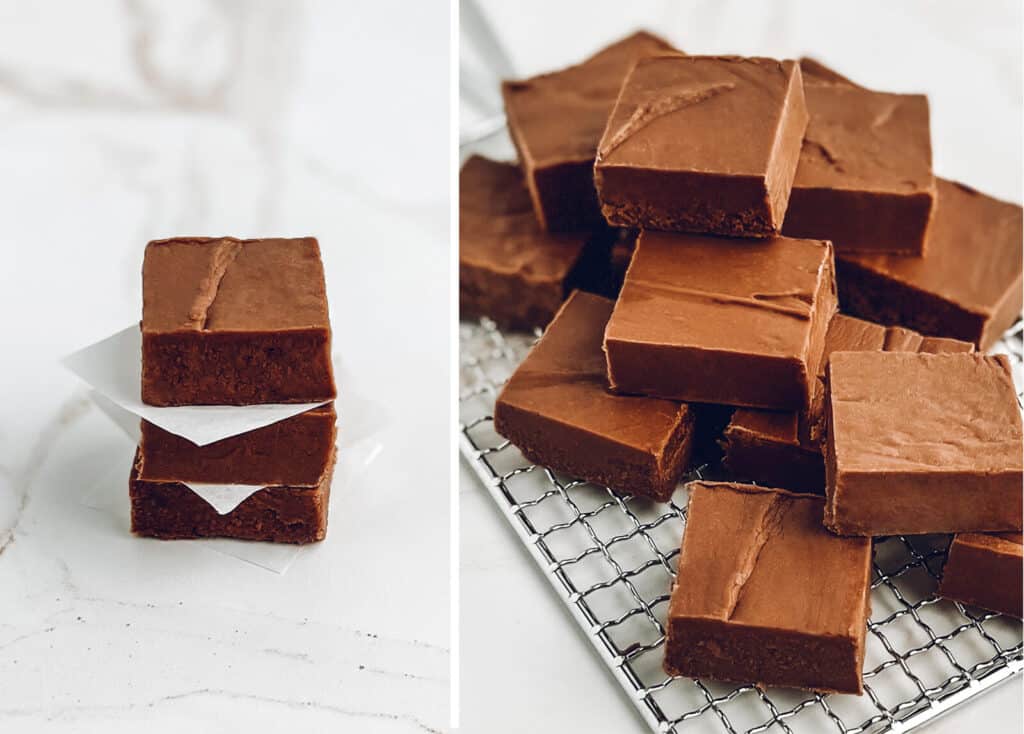
How to Cut Fudge Neatly
Fudge can be a little tricky to cut. It can crumble or have rough edges if you are not careful, but these tips will make cutting fudge easy and help create smooth edges.
- Be sure to use parchment paper to be able to easily lift the fudge out of the pan without having to use a fork or spatula (foil or greasing the pan are options, too).
- Chill the fudge for several hours before cutting – if you have time to chill it overnight – even better.
- Choose a sharp knife, or be sure to sharpen your knife prior to using it. We use a chef’s knife. This will help make crisp lines.
- Run the knife under hot water or dip it in a glass of hot water.
- Trim the rough edges off if you want every piece to be neatly cut.
- Don’t cut the fudge pieces too big. Fudge tends to be rich, and you want pieces that are 1 inch to 1 1/2 inches at most.
- Calculate the number of cuts per side you’ll need and use a ruler to measure uniform pieces (or use a piece of folded parchment paper for a guide).
Topping Ideas
This chocolate fudge is delicious all on its own. But you can dress it up and add toppings after you pour it into the pan. Be sure to move quickly, though, as the fudge will set fast. Plan to have your candies or nuts chopped ahead of time.
- Chopped walnuts
- Crushed candy canes
- M&Ms or other candies
- Drizzled caramel and sea salt
- Festive sprinkles for any occasion
- Dried fruit
- Chopped pecans
- Peanut butter chips
- White chocolate chips

Microwave Milk Chocolate Fudge
Easy microwave chocolate fudge perfect for holiday baking. With only 6 ingredients and 20 minutes to make, this will be your new go-to fudge recipe!
- Total Time: 20 minutes
- Yield: 48 pieces 1x
Ingredients
- 3 cups granulated sugar
- 3/4 cup butter
- 6 ounces evaporated milk
- 1 package milk chocolate chips (11.5 ounces or 2 cups)
- 1 jar marshmallow creme (7 ounces)
- 1 tsp vanilla extract
Instructions
- Begin by prepping a 13 by 9 pan with parchment paper. We love to use pre-cut parchment baking sheets.
- In a large microwave-safe bowl, mix the sugar and evaporated milk. Then top with butter, cut in slices.
- Microwave for 9 1/2 minutes, stirring every 3 minutes. Be careful not to over-stir the fudge as it may get grainy.
- Next, add the chocolate chips, marshmallow creme, and vanilla. Stir until smooth.
- Pour into the prepared 13 by 9 pan. Chill for several hours in the refrigerator, overnight if possible.
- Carefully lift the fudge out of the pan using the sides of parchment paper.
- Cut into 1-inch to 1 1/2-inch square pieces. Store in an airtight container until you’re ready to serve.
- You can easily freeze this fudge. Make it weeks before the holidays and freeze.
Notes
- Prep Time: 10 minutes
- Cook Time: 10 minutes
- Category: Dessert
- Method: Microwave
- Cuisine: American
Nutrition
- Serving Size: 1 piece
- Calories: 142
- Sugar: 20.3 g
- Sodium: 11.5 mg
- Fat: 5.7 g
- Saturated Fat: 3.6 g
- Carbohydrates: 23 g
- Protein: 1.2 g
- Cholesterol: 7.6 mg
Frequently Asked Questions
Here are answers to commonly asked questions about making and storing fudge.
How should I store chocolate fudge?
For the best results and to maintain quality, store chocolate fudge in an air-tight container in the fridge or freezer
How long does chocolate fudge last?
Unrefrigerated at room temperature, homemade fudge will last 1 to 2 weeks. In the refrigerator, fudge will last for several weeks (2 to 4 weeks). In the freezer, fudge will be good for several months (2 to 3 months). Be sure to use an air-tight container for the best results.
Can fudge go bad?
Yes, fudge can go ‘bad’ in quality, taste, and texture. However, due to the high sugar content, it does not typically go bad like other foods do in the sense of molding or rotting.
Why is my fudge grainy?
Fudge can become grainy if you cook it too long or stir it too much. Keep the stirring to a minimum—only what’s necessary to fully mix the fudge batter. Plus, be careful not to overcook the fudge as well.
Final Thoughts
Fudge is the perfect dessert for satisfying any sweet tooth. This easy microwave chocolate fudge recipe takes just minutes to prepare and only requires a few simple ingredients. Whether you’re looking for a quick treat or want something special for holiday treat trays, this fudge is sure to please. Be sure to bookmark this page and save this easy chocolate fudge recipe.
⭐⭐⭐⭐⭐
Have You Tried This Recipe? Please rate it in the comments and let us know your thoughts!
More Easy Desserts to Try
- Homemade peanut butter cups
- No-bake peanut butter cookies
- One cup chocolate chip cookies
- Mint chocolate brownies
- Marshmallow krispies
- White chocolate peppermint pretzel crisps
Pin for later